Tuesday, February 11, 2014

Duh-Duh DEE!


This week BooBoo Bear and I worked on the letter ‘D’. He had a lot of fun pointing at the letter and saying “Duh duh DEEEEE!” Having worked in an elementary, it’s very important to me to focus on not only the letter but its basic letter sound as well. BooBoo thought it was fun to have the letter written out so he could point to it and put the various things we made that started with ‘D’ on it.

The first thing I thought of when I started brainstorming ‘D’ ideas was dough! I know Christina did an awesome activity using dough in her lesson plans here last week, but I wanted to put my own spin on it since I knew BooBoo would have fun. I quickly Googled “homemade play dough’ and found this gem. It has a very easy to follow recipe with detailed pictures and step by step instructions. Follow them carefully and I guarantee it will turn out great! When I initially pulled it off, it was still sticky, so I put it back on the heat as suggested and within 2 minutes it was perfect!

With our dough BooBoo and I made dogs, drums, dinosaurs, door, and rocks… the last one obviously being his addition. He just HAD to include rocks. He even kept saying “Duh-duh-duh ROCKS!” when I’d try to help him find a ‘D’ word instead. Oh well. At least he has a good imagination.
My Dog
Door
Dinosaur


'Duh duh ROCK!'


Then we broke out our matching game. 
Because this week is Valentine’s Week here at Howling Horn we matched hearts. Now, I am in NO WAY an artist, but I made simple drawings of things BooBoo has seen before and tried to clearly label them so he can start becoming familiar with their names.

 He was especially excited to see the ‘DinoSAURS!’ As we matched them BooBoo would say the name of each item we were currently matching… and then try to pile them all in one big pile. This was the first time we’ve done a game like this and by the third round he was pro…enough to have picked up on the fact that matching pairs were on similarly colored hearts so he didn’t even bother to turn them over and look at the pictures. He's too smart sometimes.


As we were driving in the car that night he had fun telling McGee all the ‘D’ words he’d learned “Dad! Dinosaur! Dog! Door! Optimus Prime!” “Um, bud… does Optimus Prime start with D?” “Uh…. No! Bumblebee!” In short- he gets it, but certain vehicular robots are a lot cooler.


I really enjoyed all our hands on learning this week. BooBoo loved being able to shape letters and objects in the dough, and I loved watching his imagination bloom. I highly recommend using this recipe if doing it with a younger child because, though it’s high in salt, it is OK if they eat a bit. BooBoo tried to scarf some down “Eat playdough Mama?” and while I was able to talk him out of it, it was a comfort to know that if he had he would have been OK. Also, don’t be afraid of your lack of drawing talent. Your toddler really won’t care if your drawings aren’t completely perfect and they’ll love being able to play with you. Booboo was only puzzled by my ‘dinosaurs’ and once I told him that’s what they were, he was totally OK with calling them that for the rest of the day.

What are some ways you’d teach the letter ‘D’?


Make sure to check out our previous weeks here:
A
B
C

Ultimate Baby Shower Event Giveaway

I know it isn't Wednesday yet, but I can't wait to tell all our followers the exciting news!

We are going to join the Baby Shower Event hosted by This Mama's Life and Andersons Angels. Amy from This Mama's Life is expecting and to celebrate this joyous occasion, they are doing this HUGE giveaway that right now is valued over $500!!

This wonderful giveaway will start March 1, 2014 and until March 22, 2014. If you have a blog and want to sign up to join the fun, then check out the Ultimate Baby Shower event sign up page. And, if you do sign up, then please say the Howling Horn referred you!

We are SO excited for this event, and excited to get to know some other great mommy bloggers!!


Monday, February 10, 2014

Valentine's Day Countdown Tree

A few weeks ago, I came across this cute idea of doing a countdown for Valentine's Day. I absolutely fell in love with the candy heart countdown tree. I loved how it made Valentine's Day special because too often the smaller holidays get forgotten because they aren't Christmas. So here is my Valentine's Day countdown tree I created using the concept found on the above link:


The post describes how to make a 16 day countdown for Valentine's Day based on 1 Corinthians 13: 4-8. These scripture verses talk about the attributes of charity, the pure love of Christ. Because there are 16 attributes, this countdown tree starts on January 30th. Each attribute of love is featured on a candy heart and comes with an activity card. The activity cards have scriptures you can read and activities to do as a family where you learn about love.

And, the best part of this post is that the author graciously provides all her materials!! Free Valentine printables!

Step 1:
Find a place to hang the hearts. I loved the idea of having a "tree" to hang the hearts on so I went outside and found some twigs. My husband wanted to help me out so he spray painted them white. I then arranged them in this container with red pebbles. If you don't want to do this, then get creative! You can make a clothespin line and hang the hearts up by clothespins.You can dangle them over a window. The options are endless!


Step 2:
Print and cut out the hearts and teaching cards Then hole punch each heart and use some form of string to hang them up.Because my family doesn't eat a lot of candy, I decided to not use the candy hearts printouts. Instead, I made my own printouts that had regular hearts. I printed the hearts (two of each day so a total of 32 hearts) on colorful card stock. I printed 32 so the backside of the hearts would also have the wording. After I cut the hearts out. I applied mod podge on them to make them sturdier. Once it dried, I hole punched the hearts. I did 9 hole punches on the edges of each heart (4 on each side of the heart and one in the middle, see picture below of a practice heart). I only had to hole punch 16 since I hole punched the identical ones together (make sure to have the words face on the outside when hole punching).


Step 3:
Make little packages for each countdown day.  Using grass twine, I stitched two hearts together to make a pocket where I could stuff the teaching card in (pictures below of when I was working on a practice heart). I did small notes on the top hole punches to provide stability. I did this by leaving about 4 to 5 inches of twine up at the top before making a knot. Then with the leftover twine on each side, I made a hanger by tying the twine together. I liked the idea of pocket hearts because I didn't want to have 16 jars or baggies full of goodies to make. But, I do have to say the author's way of doing the mason jars full of goodies with the activity card is way cute!


Step 4:
Enjoy the magic of the countdown tree and the cuteness of the hearts hanging up. 
Thoughts:
I would totally recommend doing this project. It is relatively simple and so versatile. You can easily adapt it to fit your family needs, and is quick to do since it comes with free printables! If you don't want to do scripture activity cards, then you can make your own activities to celebrate Valentine's Day. Like I said before, this project is so versatile. And, I just looking at my cute tree. I plan on doing more countdown trees for other holidays so be on the lookout for my printables!!!

Thursday, February 6, 2014

Tortellini Alfredo Bake

You know those times you see something on Facebook that looks WAY too good to pass up and then realize you don’t half the ingredients? That happened to me last week when this showed up in my newsfeed :

Credit belongs to Life With the Crust Off. This is NOT my image. Link: http://www.lifewiththecrustcutoff.com/chicken-alfredo-ravioli-bake/

I instantly started drooling. Then I opened the link- I didn’t have half of what Life With the Crust Off (great blog, check them out!) listed. So, I made my own version and you’ll find that listed below. The Alfredo sauce is a riff off of a recipe I found at allrecipes.com which is linked here. I didn’t think to take step-by-step pictures, but look at the final product!


MMMMMMMM. (Please excuse my bad cell phone pic. I will add better pictures the next time I make this...)
Enjoy! If you make your own adjustments, let me know what you did and how it turned out! Thank you to Life With the Crust Off for the inspiration!

Chicken Alfredo Tortellini Bake

Ingredients
1 pound boneless skinless chicken diced
1 pound frozen cheese tortellini
1 recipe homemade alfredo sauce (see recipe below)
1 cup Monterey jack cheese
garlic powder (you can use just garlic salt, I tend to find the garlic flavor of the powder to be more potent andbetter)
salt
pepper

Directions
Make a batch of Alfredo sauce (below)
Meanwhile, brown the diced chicken in a skillet, sprinkle with pepper, salt, and garlic powder.
Sauté until cooked all the way through. Set aside.
Boil Tortellini and drain.
Mix ravioli, chicken into alfredo sauce
Place in 9x13 baking dish and cover in cheese
Bake at 350 till top is slightly browned (about 15 minutes).

Alfredo Sauce

Ingredients

 1/2 cup butter
 1 (8 ounce) package cream cheese
 2 teaspoons garlic powder
 2 cups milk
6 ounces grated Monterey Jack Cheese
 1/8 teaspoon ground black pepper

Directions


Melt butter in a medium saucepan over medium heat. Chop cream cheese into small pieces. Add cream cheese and garlic powder, stirring with wire whisk or wooden spoon until smooth. Add milk, a little at a time, whisking constantly to avoid lumps. Stir in Monterey Jack Cheese and pepper. Remove from heat when sauce becomes slightly thick. It will thicken a little once off the heat and also while it's in the oven.

Wednesday, February 5, 2014

Adornwithaandm Review and Giveaway

You know those people you just click with? The ones who, for some reason, you seem destined to get along with? How about those people you’ve never even met in person? Meet Amy, the wonder mom of 7 behind Adornwithaandm. I first found her page through her many giveaways almost 3 years ago. Confession time- I *hate* sock monkeys. They’re CREEPY. Those red mouths? Shudder. That’s why I was surprised when I first saw Amy’s. They’re adorable! I entered for every one that I could and was shocked when I finally won! Our sweet little black and white monkey has been in our family now since my 2 ½ year old was a tiny baby. 
One of Adornwithaandm's Sock Monkeys
When I messaged Adornwithaandm to claim my prize, she noticed my address and mentioned she’d grown up near the town I then lived in. That’s when we started to find similarities- I even know her cousin (through my husband). We continued to talk off and on for the next few years. Amy does giveaways almost weekly and inspires a sense of community and sharing in so many on her page. Some have even stepped forward and offered to buy her products to be sent to those in need, all because they were inspired by what she does so often.  This Christmas I had the chance to help out when she did a large Christmas giveaway for those truly in need. It was awesome to see how many came forward to help. We helped SO many (33 families if I remember correctly).

Enough about her, on to the products: Amy makes monkeys (as previously mentioned) and some adorable sock cows! She also makes what she calls “amazing scrubbies” (nylon dish scrubbers) and crocheted rugs. One of her most popular products right now is her Chalkimamy Chalkboard Mats; this ingenious product allows you to take chalkboard fun on the road and she has 135+ fabric choices to choose from. She also has a sister who makes sock animals and ships them to her to sell. They tend to go quickly when she gets them because they’re so cute! Check out all her products here.


Amy has graciously offered to give one of our fans a Chalkimamy Chalkboard Mat of their choice! The giveaway starts now and will run until February 11th at 11:59 MST.


Can’t wait to find out if you won or want to buy one of her other products? Check out her website!

Disclaimer: I did not receive any products in return for this review. All opinions are my own.  

Tuesday, February 4, 2014

A Week of Letter "C"


Monkey is now learning the letter "C". I am quite pleased with how the preschool activities have gone because he is talking more and pointing out the letters he has learn in books and in his surroundings. Here is the preschool template I use and here is the letter "C" template. (note: I decided to move the "discovery bag" activity onto Tuesday - Science days because I felt there was too much I was trying to do on Monday. It worked out well because I was able to tie into the science theme).


Monday - Reading

We started off our week of letter "c" by making a letter "c" to hang on the way. This blog has great ideas on creative ways to display a letter of the week in your house. I adapted the letter to the materials I had on hand so that is why my "c" is a little bit different. But, that is totally okay! Anyways, Monkey loves cars so he had fun making the road and the cars. And, of course, he loves glue.


After we made the letter of the week, we read some books that featured the letter "c". We, of course, reread these books frequently during the week. And, then later that day we practiced making the letter "c" by using our snake play dough letter cards. This is where you make "snakes" out of the play dough to teach how the letter is created. 


Tuesday - Science

Because we love baking at our house, today's science project was making corn bread to go with our dinner. Monkey had fun measuring, mixing, and spooning the corn bread batter into the pan. As we made the bread, I did my best to explain to him the importance of mixing the ingredients and why we add certain ingredients (see template at the top of the post for notes of discussion). I love getting Monkey involved while I cook because it helps me out and it teaches him valuable skills.


We finished the day by exploring the "discovery bag". This is a bag filled with objects that start with the letter "C". I make sure to label each word (for example: celery) so that way Monkey will learn to connect the letter "c" with words that start with "c". We then talk about where you can find his item in the house, and we try to discover more "c" words. Because Monkey is only 2 years old, I guide him along this activity. I try to encourage him to find "c" words by asking him questions. For example, "Where are cars found?" This was used to talk about toy cars and actual cars.


Wednesday - Math

I decided to do something different today.  I got out the 300 circle pom poms box I bought at Walmart. I dumped the pom poms into a large tupperware so Monkey would have an easier time grabbing them. We worked on sorting them by colors and sizes by using an egg carton and sandwich size tupperware containers. I really like the egg carton to match up colors because we could count and sort and not get overwhelmed. As you can see, Monkey wanted to wear his dragon costume again. Silly monkey!


This went okay. He only cooperated for a little bit before he just wanted to sort them his way, and I allowed him to sort his way because I didn't want to stifle his creativity (He really liked putting the biggest blue pom poms into the egg carton and pretending he had eggs. He did that after we sorted the pom poms by color).


And, he really loved using tongs to grab the circle pom poms and place them into containers. He didn't really sort into any specific categories, but he was able to work on his motor skills. I will admit that this activity gets super messy, but he really loved it. He kept asking to play with them each day of this week. We will definitely be doing another project with them!

Thursday - Art

After reading, The Very Hungry Caterpillar by Eric Carle, we made caterpillars. Monkey first painted his egg carton. He, of course, wanted blue.


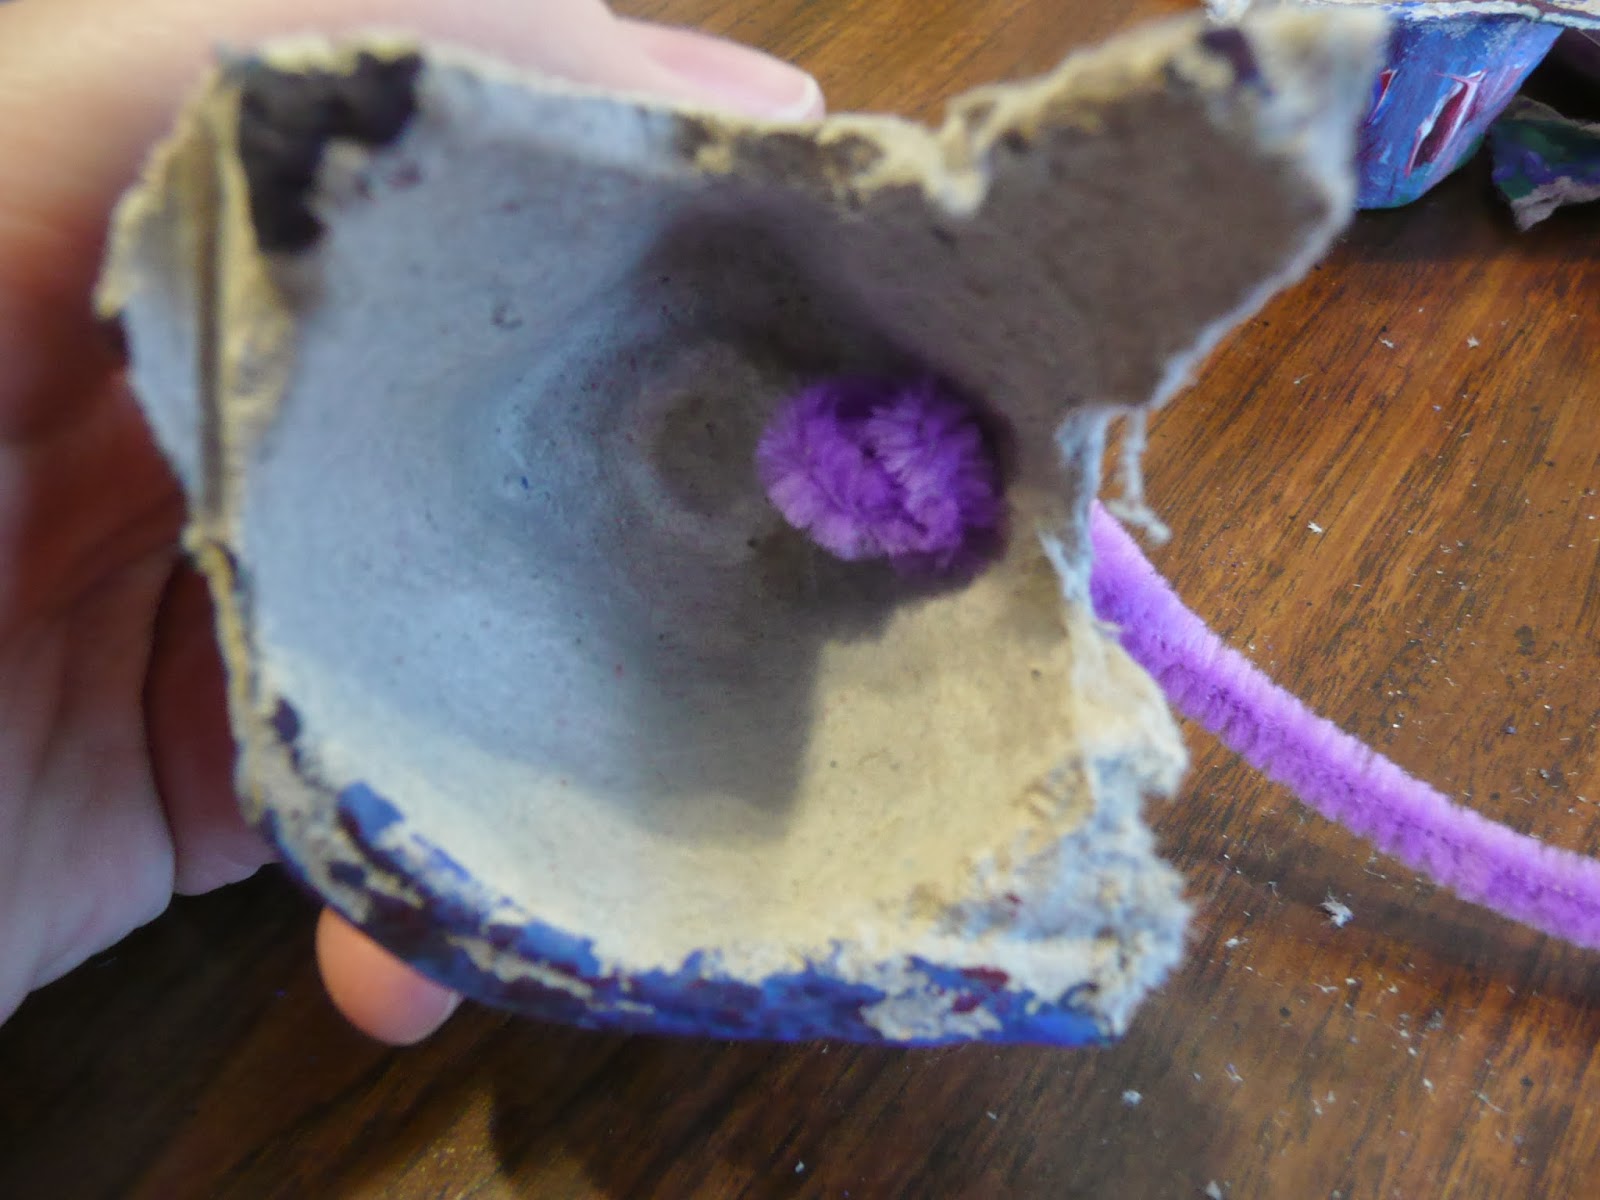
After it dried, I cut the egg carton into individual units. I them made small incisions at the top of each egg carton unit so I could thread a pipe cleaner through. The reason why I made the caterpillars like this is so you can move each piece as you play with it. Then we glued on the eyes, and made little antennae for them. Note: You don't have to make movable caterpillars, but I wanted to do something different. To save time, you can leave the egg carton units attached and just glue on eyes and the antennae.


The picture on the left shows how I threaded the pipe cleaners through. I tied a knot in one end and then threaded through the small holes I made using a pocket knife. Once I threaded all the egg carton units on that I wanted, I tied another knot into the pipe cleaner and cut off the leftover pipe cleaner. The picture on the right shows how I made the antennae. I made two holes on the top of one egg carton unit. I took a pipe cleaner and threaded each side through a hole to make an upside "u". I made a knot before I cut off the remaining pipe cleaner. Then I snipped the upside "u" in half and curled them to make them look like antennae.


I made the caterpillars into different lengths so we could count how big each caterpillar was. This was another way to incorporate math into art. How did I entertain my little one while I assembled the pieces? Well, I let him play with the pipe cleaners and my strainer! A great distraction activity that works on fine motor skills!


Friday - Physical Exercise

We did something really silly today. We did the crab walk. Well, I should say that it was mainly me doing the crab walk because Monkey really wasn't too sure on what to think about this activity. He thought I was being really silly. Eventually, we ended up running around and pretending to be crabs by using our hands to make pincher claws. Oh well, at least we tried.

Saturday - Music

Like the other weeks, I sang the ABC's with Monkey. Monkey loves to listen to music and asks me to sing to him a lot, but he hasn't quite gotten to the point where he wants to sing. I let him watch this video song by StoryBots  that sings about the letter "c".

And, I am quite happy to find these cleaning songs at this website. She has some really creative ways to sing about washing hands and cleaning up your toys. So today we practiced singing them. Hopefully, one day Monkey will sing with me. He did enjoy the new songs, and I think it will help with the clean up routine in our household. I plan on using more of her cute songs in our household so go check them out!

Sunday - Religion

Monkey learned about caring today. I wanted him to know the importance of caring for yourself, your family, and your friends/neighbors, and strangers. I talked with him how we need to treat people. It went over really well because we got to talk about caring for his younger brother, Roo. I pointed out how well he cares for Roo by going to him when he cries and patting him softly on the head and back and how quickly he gives hugs to him. I loved the lesson because I got to point out how he is doing well as an older brother. I wanted to take time to make him feel that he is doing well.

Thoughts:
I have to say that working on one letter a week has been really good. Monkey is talking about the letters we have learned about, and he can actually point them out! I feel going at this pace has actually encouraged him to speak more which has been a huge blessing since he has been stubborn with speech (another post for another time).

Want ideas for the letters "A" and "B", then come check out these posts:

Monday, February 3, 2014

Homemade Finger Paints

You know those times you see something on Pinterest and think “That’s so easy! I could totally pull that off. No problem!”? Then, as you’re doing it and everything seems to be turning out well you find yourself thinking “Whoa. This is so easy, I could even improve it!”? Then… everything explodes in your face? Yup, Saturday’s Pinterest in real life activity went a bit like that. Mind you, it wasn’t completely catastrophic, but it also wasn't very pretty; literally.


This week I decided to make finger paints. I used this recipe that I’ve found on several different sites, all posted by people who SWEAR it’s easy and foolproof. I guess it would be if you didn’t get distracted by the 4 kids you’re watching. *Note to self* If you’re doing anything with cornstarch, it WILL get thick and lumpy in the blink of an eye. DO NOT leave. Not even for a second…
Loosely translating my gibberish- The paints were successful in that the kids had fun. They were NOT successful in that they were lumpy and not very photogenic… Enjoy these pictures and remember, no one’s perfect… Haha.


Recipe:
1/2 cup cornstarch
3 Tbsp. sugar
1/2 tsp. salt
2 cups cold water
food coloring

Directions
In a medium pan, mix the ingredients together to make the finger paint. Then, turn the burner to low and cook for 10 to 15 minutes. Keep stirring the finger paint mixture until it is smooth and thick. (DO NOT LEAVE. Trust me.) After the finger paint has thickened take the pan off the stove and let the mixture cool.Then transfer into desired containers. As you can see, I used an ice cube tray because it's what I had. I think anything that's small would work well. Add food coloring (natural dyes would work well with this recipe too). Then, have some fun!


*Note* want to see something that is photogenic? These roses that McGee brought home as a surprise last week. *Swoon*